
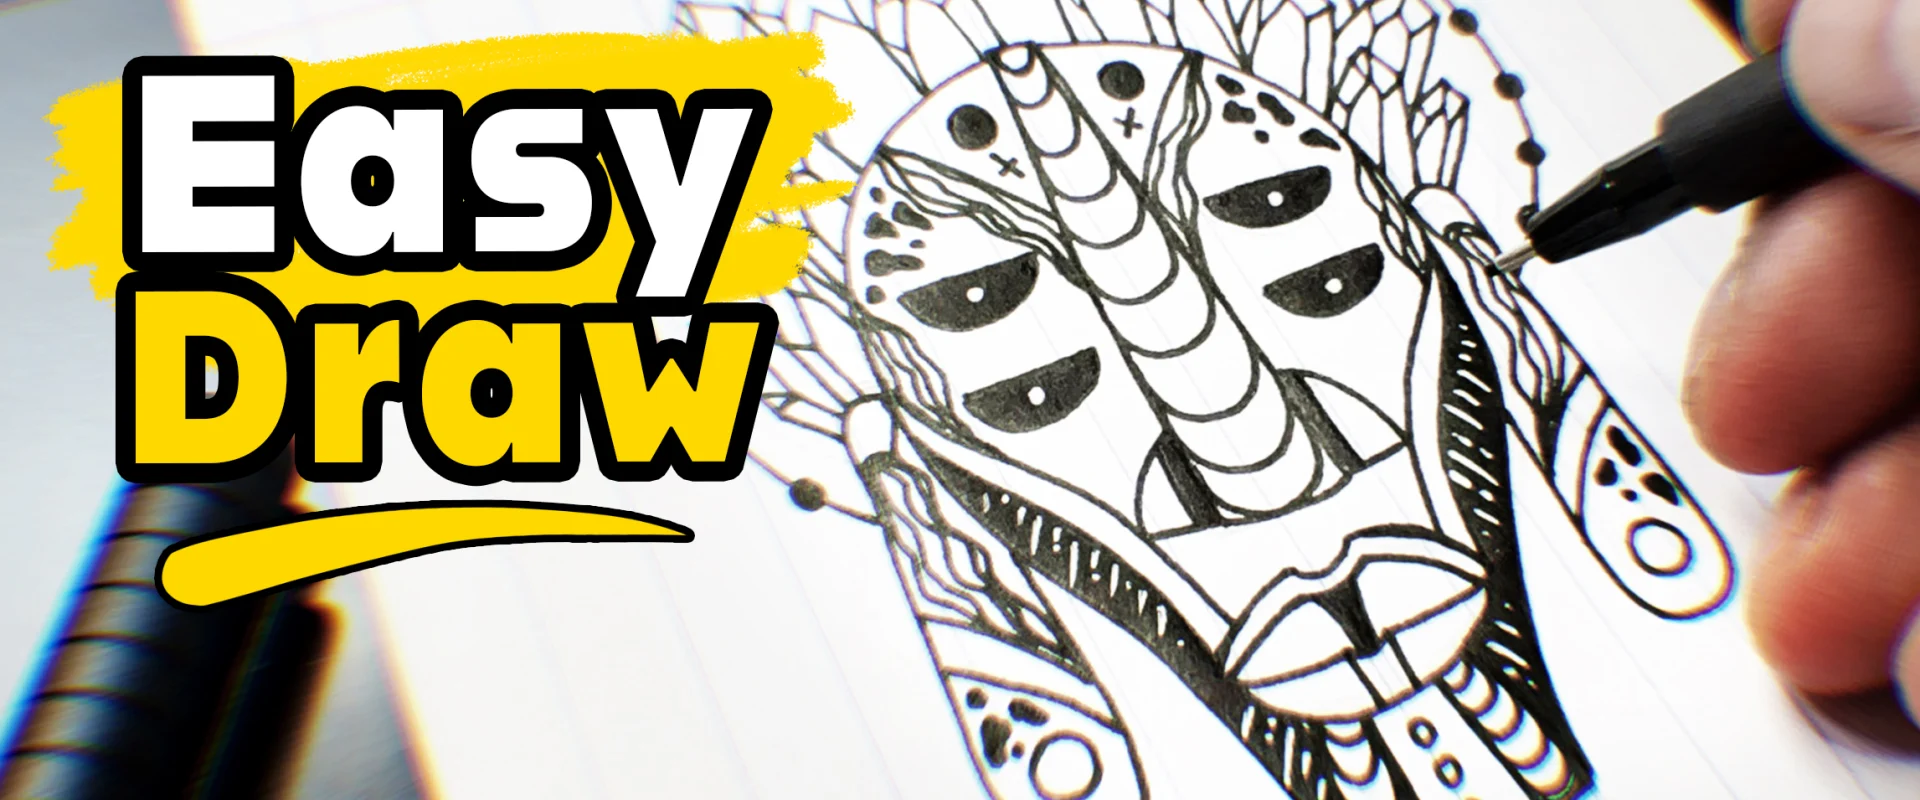
Want to learn how to draw an African mask without a complicated setup? In this easy tutorial, I’ll walk you through my own mask design with a pencil, a black ink pen and a plain lined notebook.
TL;DR
- You only need a pencil, a black ink pen and any notebook.
- The whole drawing grows from one oval and one center line.
- There are 10 short steps, from the first pencil sketch to bold black shading.
- Save the dark fills and hatching for last so the mask really pops.
- This is my own stylized design inspired by African mask art, not a copy of a traditional mask.
It starts with one oval and a center line. Then, step by step, it grows into a mask with a crystal crown, playful patterns and bold shading.
I’m Kenal Louis, and I’ve been making art for more than 30 years, mostly pen and ink on bristol board. However, I drew this one in a regular notebook on purpose. I wanted you to see that you don’t need special paper to get a detailed result.
Watch the video above, then scroll down. Every stage is here as a still photo, so you can follow along at your own speed.
What Do You Need to Draw an African Mask?
You need just three things: a pencil, a black ink pen and paper. A bold black marker is a nice extra, but it’s optional.
- A pencil for the light first sketch. I use a blue pencil so the guide lines stay soft.
- A black ink pen for the final line art.
- A lined notebook or any paper. In fact, the lines on the page can help you keep the mask straight.
- A bold black marker (optional) for filling the eyes and adding dark shading.
How to Draw an African Mask Step by Step
Here’s how to draw an African mask in 10 short stages. Each step below matches a still from the video, so draw lightly in pencil first, then commit to ink once the shapes feel right.
Step 1: Set Up Your Notebook and Tools
Open your notebook to a clean page and lay out your pencil and pen. Everything in this lesson happens on one page, so there’s nothing else to prepare.
Step 2: Sketch the Oval and Center Line in Pencil
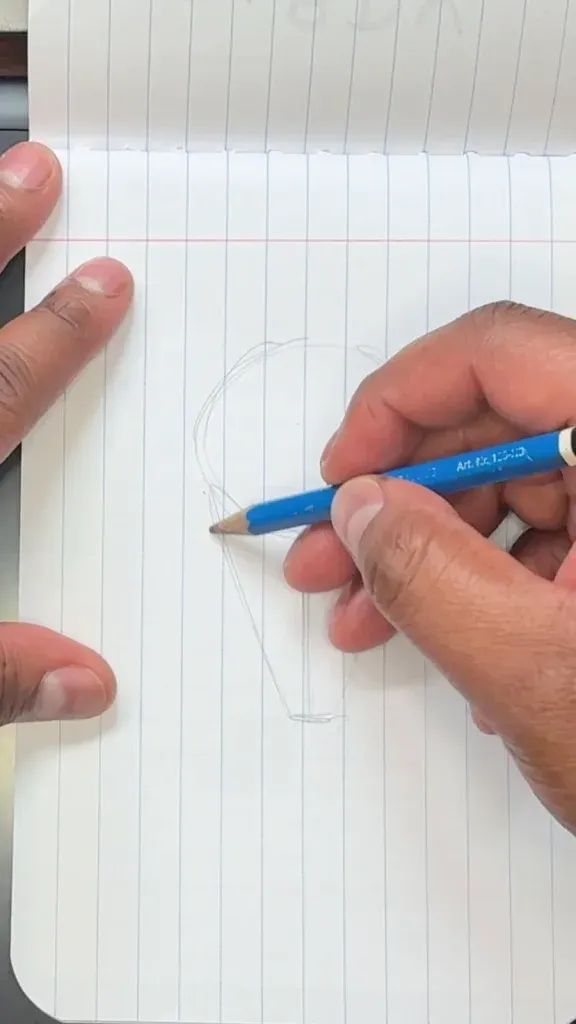
Draw a tall oval for the face, then run a straight line down the middle. That center line is your guide for the nose, lips and eyes, so both sides of the mask stay even.
Keep your pencil pressure light. That way, the guide lines are easy to cover later.
Step 3: Ink Over the Pencil Sketch
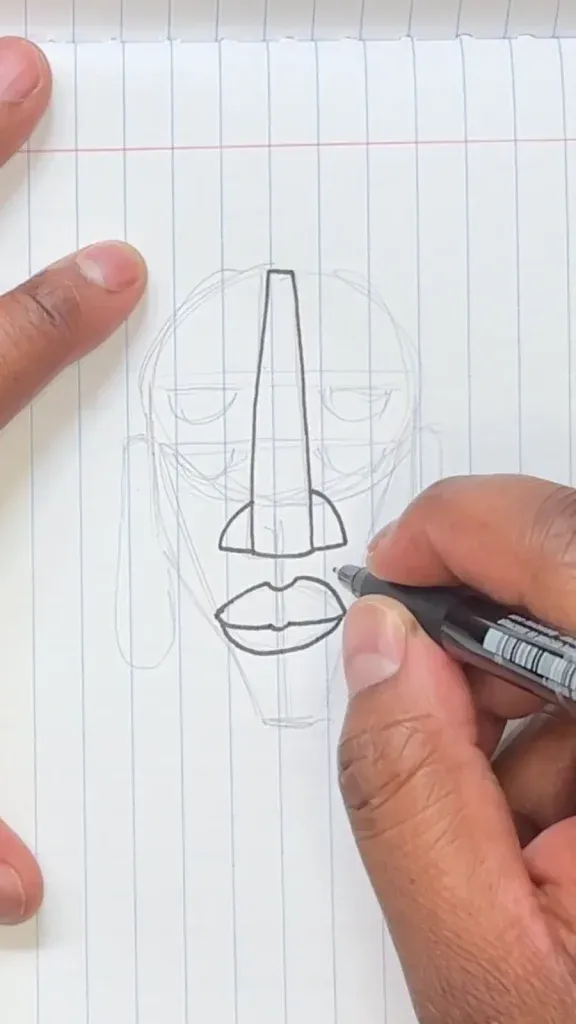
Pick up your black ink pen and start tracing over the pencil shapes. Work slowly and use steady, confident lines.
This is where a simple sketch starts to look like finished line art. Before moving on, check that your oval looks smooth and balanced.
Step 4: Draw the Long Nose and the Lips
Draw the nose as a long, tapered shape that follows the center line from the forehead down. Then add full lips just below it.
Masks like this are stylized, not realistic. Therefore, bold and simple shapes work better than tiny details here.
Step 5: Add the Half-Closed Eyes
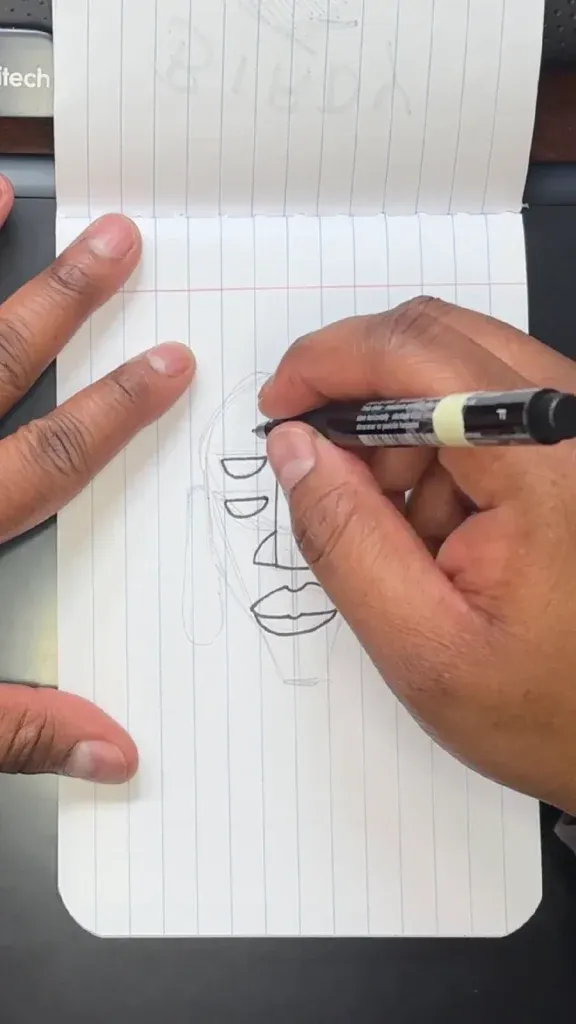
Draw each eye as a half-moon shape, with a flat line on top and a curve below. In this design, there are two eyes stacked on each side of the nose.
Check them against your center line as you go. That keeps the left and right sides balanced.
Step 6: Draw the Ears and Earrings
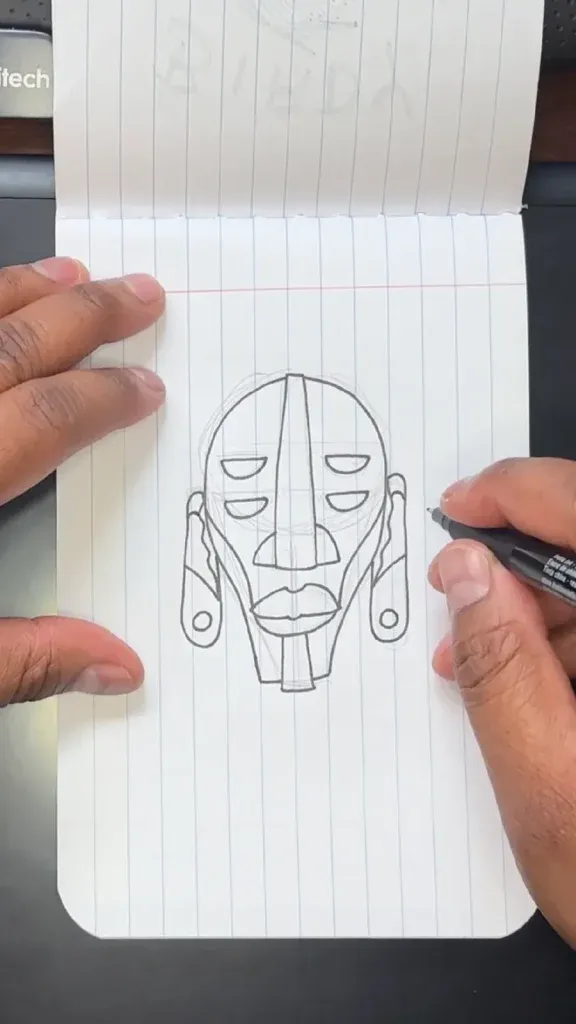
Add a long, rounded shape on each side of the face. Then finish each one with a small circle at the bottom for the earring.
These shapes make the mask feel wider and more ornamental. Moreover, they give you extra space for patterns later.
Step 7: Start the Crystal Crown
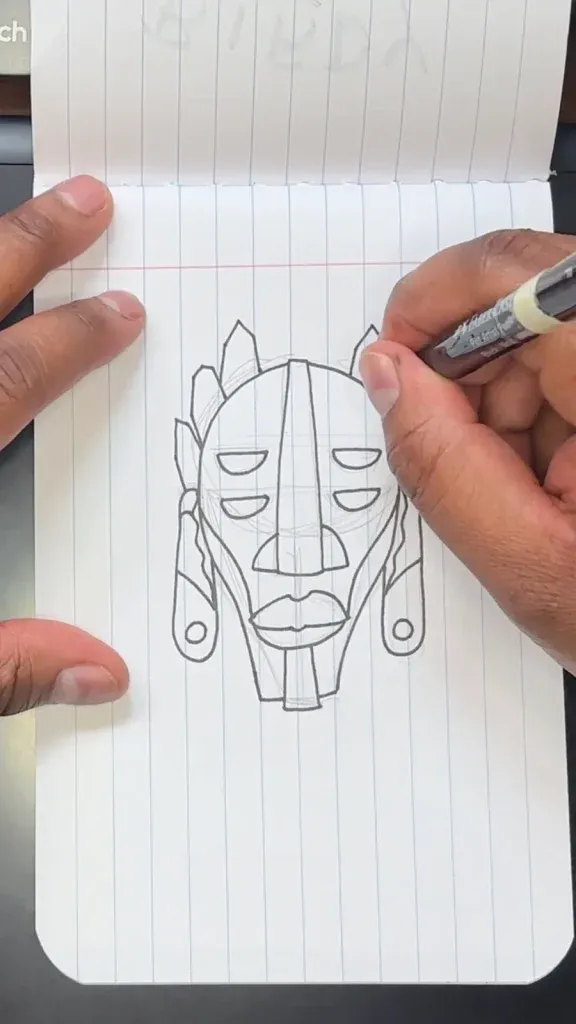
Along the top edge of the face, draw tall, pointed crystal shapes. Start with a few on each side and work toward the middle.
Try to vary the heights. A mix of tall and short crystals keeps the crown from looking stiff.
Step 8: Fill In the Crown and Forehead Detail
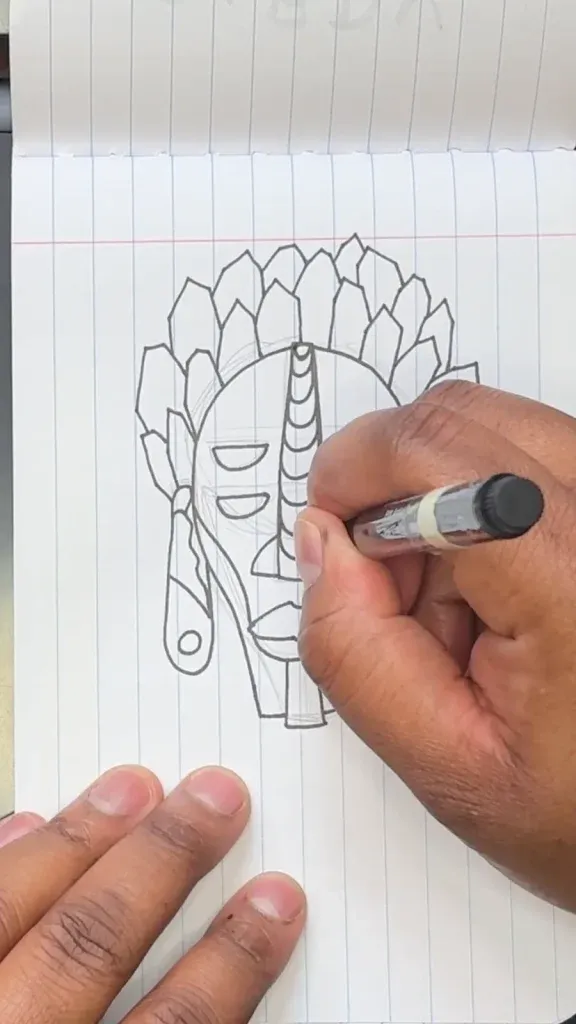
Add a second and third row of crystals behind the first one to build a full crown. Next, draw curved ridge lines down the center of the forehead to connect the crown to the nose.
If the crown looks crowded, that’s fine. In fact, the overlapping crystals are what make it feel full.
Step 9: Add Patterns, Dots and Shading
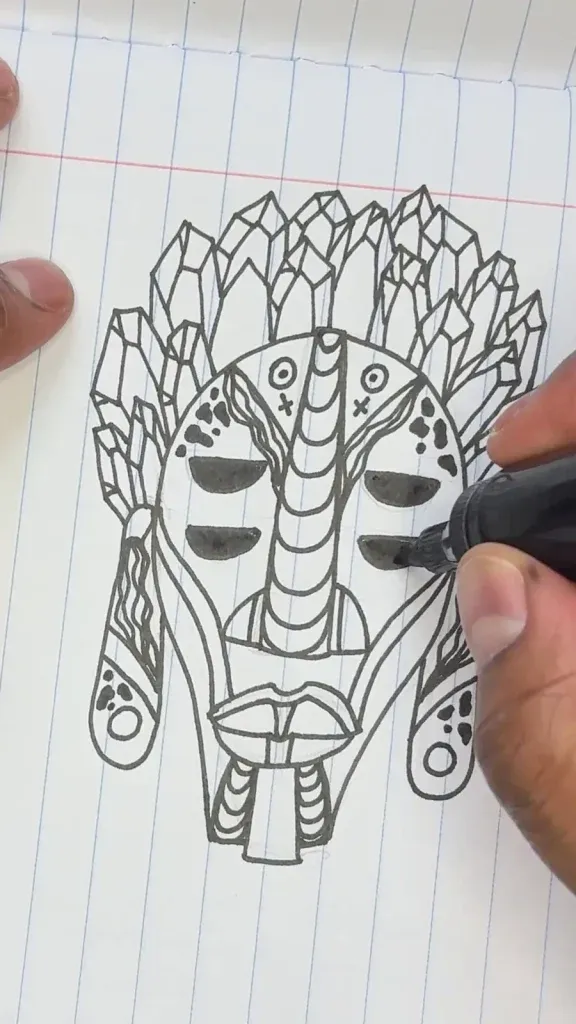
This is the stage that makes the drawing pop. Add dots and small cross marks on the forehead, then fill the eyes with black, leaving a tiny white dot in each one.
Next, use hatching (short parallel lines) to shade the sides of the face and the ears. Finally, add a ring of dots around the whole mask to finish the design.
Step 10: The Finished African Mask Drawing
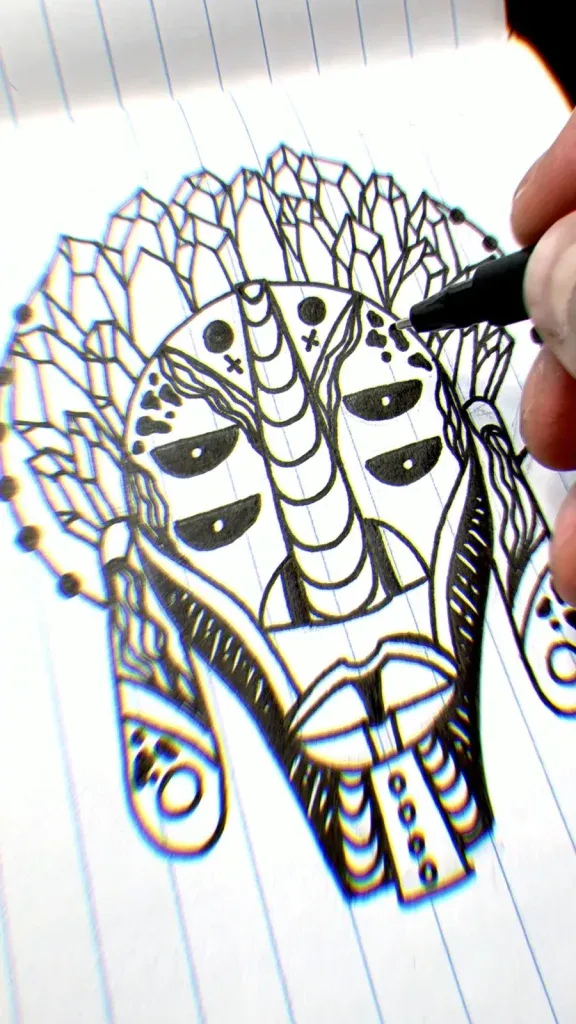
Step back and look at the whole drawing. If you want to clean it up, let the ink dry fully before you erase any leftover pencil lines.
What Makes an African Mask Drawing Look Bold?
Strong contrast is the secret. When you learn how to draw an African mask, clean ink lines, simple shapes and a few solid black areas make the mask stand out from the page.
- Start light, finish bold. Use pencil for structure and ink for commitment.
- Use the center line. Check every feature against it as you go.
- Keep shapes simple. Stylized masks read from bold shapes, not tiny details.
- Save the darks for last. Filling the eyes and adding hatching at the end makes everything stand out.
- Draw it more than once. Your second mask will come out better than your first. Truly, that’s how it works for every artist.
Is This Mask Based on a Traditional African Mask?
No. The mask in this tutorial is my own stylized design inspired by African mask art. It isn’t a copy of any specific traditional mask.
Real African masks come from many different cultures, and their forms and meanings change from place to place. According to the Minneapolis Institute of Art, something changes when a mask is worn, and a mask is often part of a full masquerade with song and dance.
Furthermore, The Met notes that many artists reflect on how museums show the mask as a wood artifact, removed from its performance. So if you want to learn about specific traditional masks, those museum pages are a great place to start.
How to Draw an African Mask: Your Questions Answered
How do you draw an African mask for beginners?
The easiest way to learn how to draw an African mask is to start with a pencil oval and a center line. Then add the nose, lips and eyes along that line, and build the ears, crown and patterns in stages. Ink over the pencil once the shapes feel right.
What do I need to draw an African mask?
You need a pencil, a black ink pen and any paper. A lined notebook works well, and a bolder marker is optional for the dark areas.
Can I color my African mask drawing?
Yes. This drawing is finished in black ink, but you can color the line art with colored pencils or markers. I color my own ink drawings digitally in Photoshop.
Is this a good drawing for beginners?
Yes, the shapes are simple and the steps are short, so most beginners can follow along. However, the crystal crown takes a little patience, so take your time there.
What Should You Draw Next?
Now that you know how to draw an African mask, draw this one again. Then try changing one part, like the crown or the patterns. Small changes are a fun way to make the design your own.
Did you try this African mask drawing? Tell me in the comments on the video what you want me to teach next. If this helped, subscribe to my YouTube channel for more drawing tutorials and process videos.
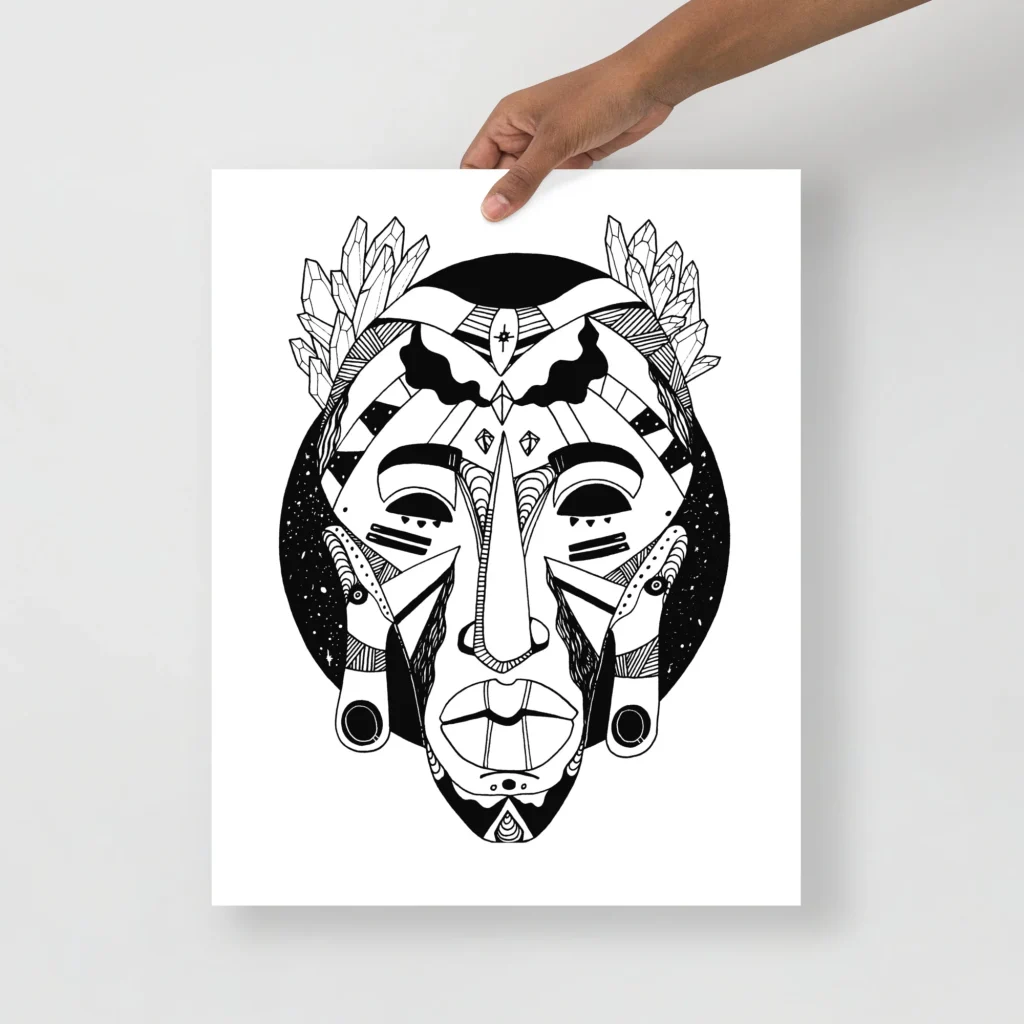
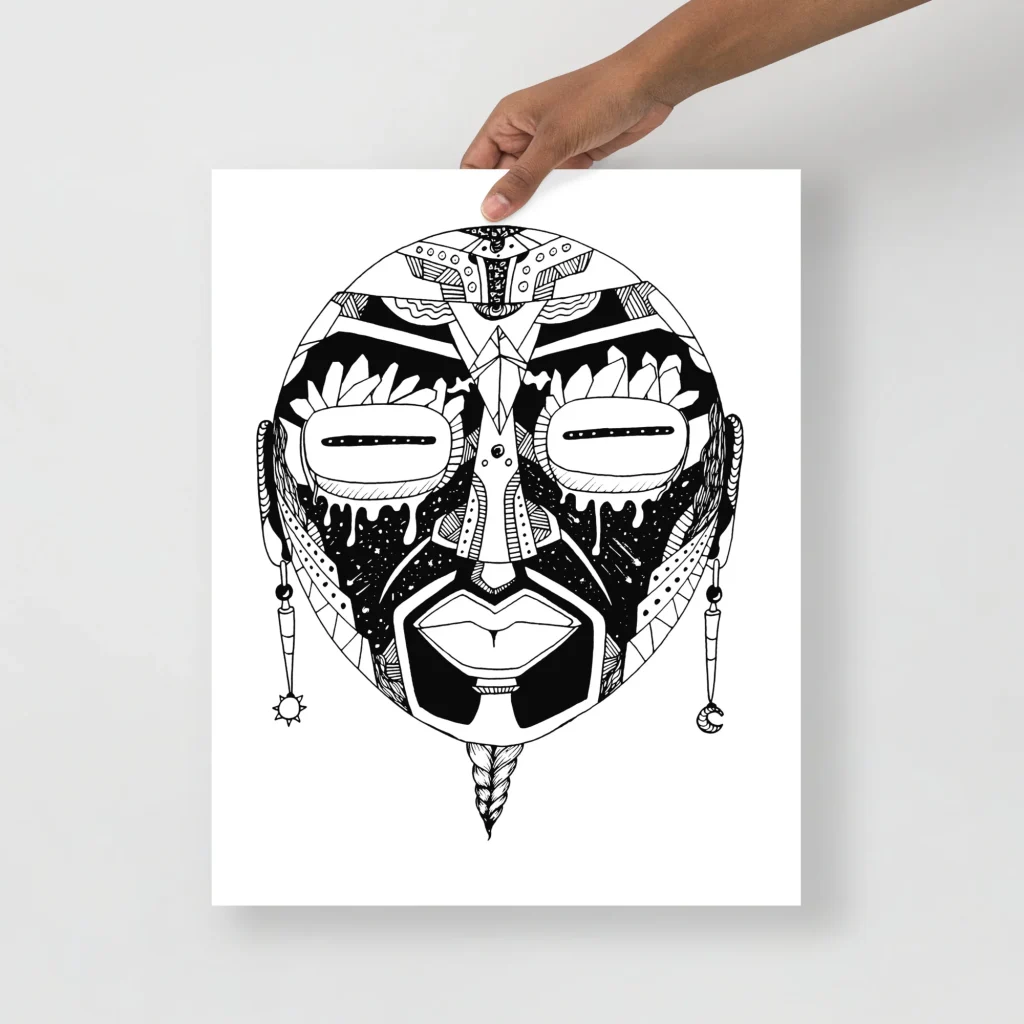

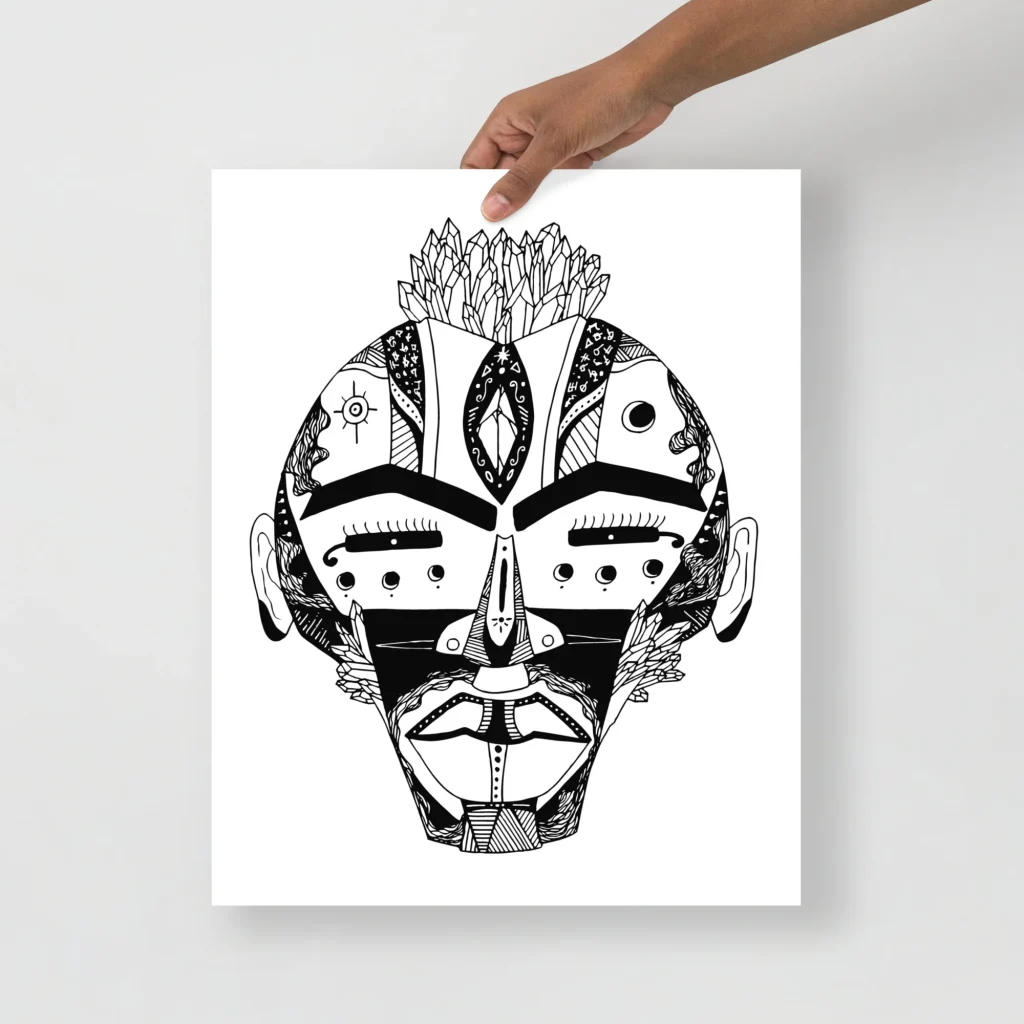


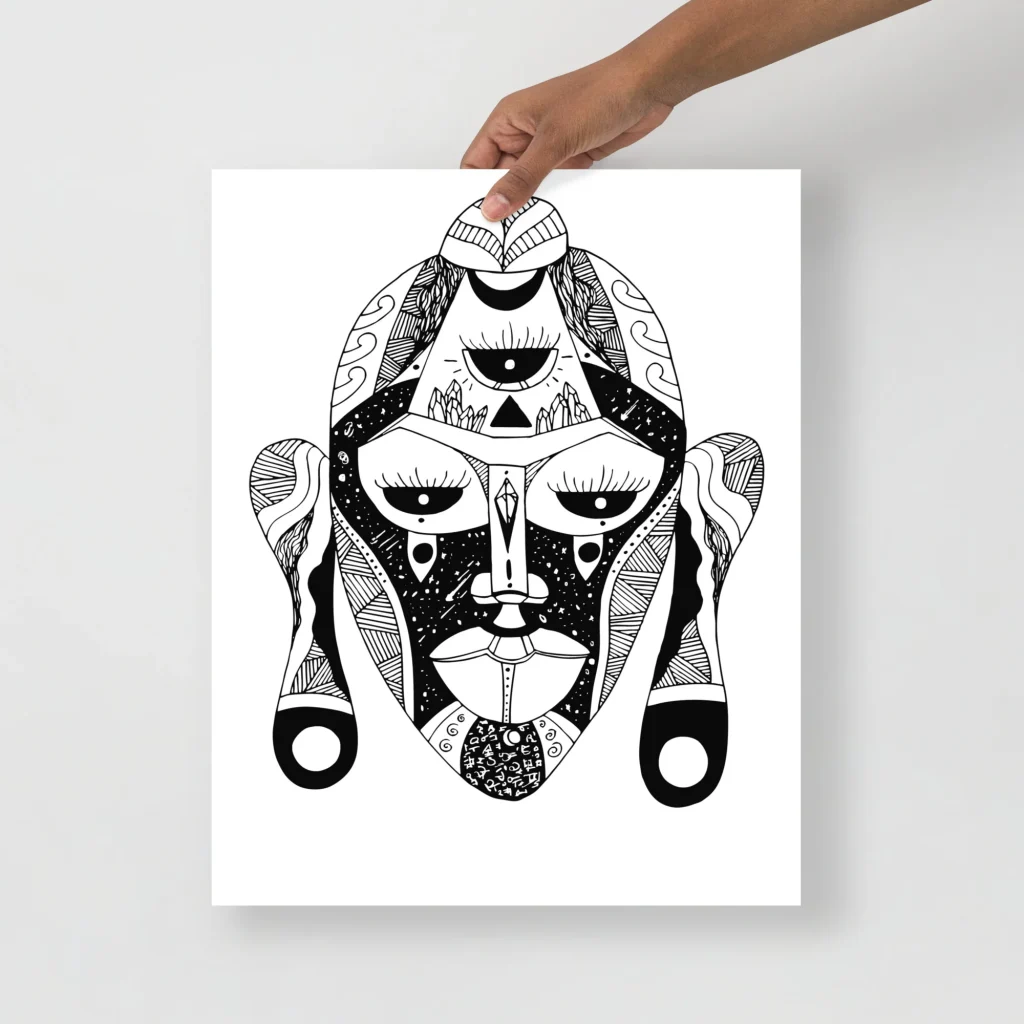

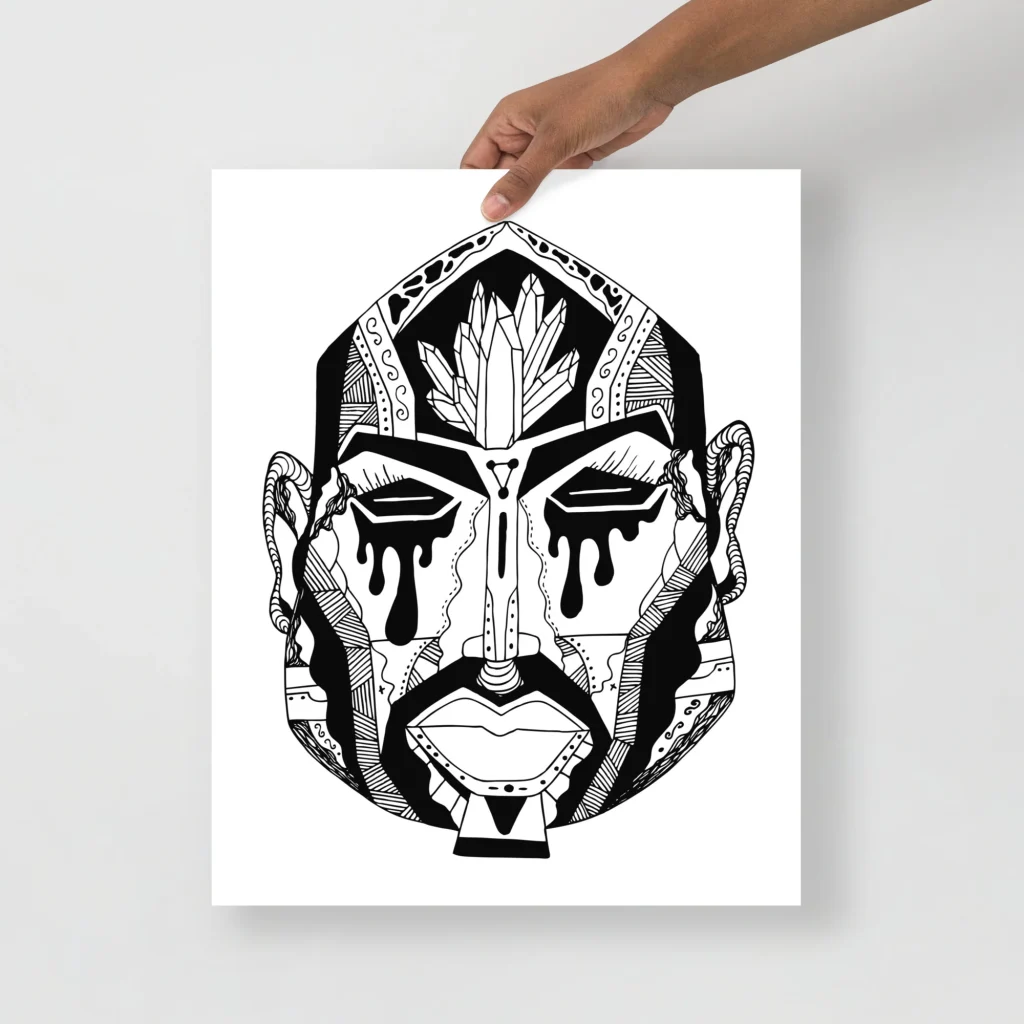


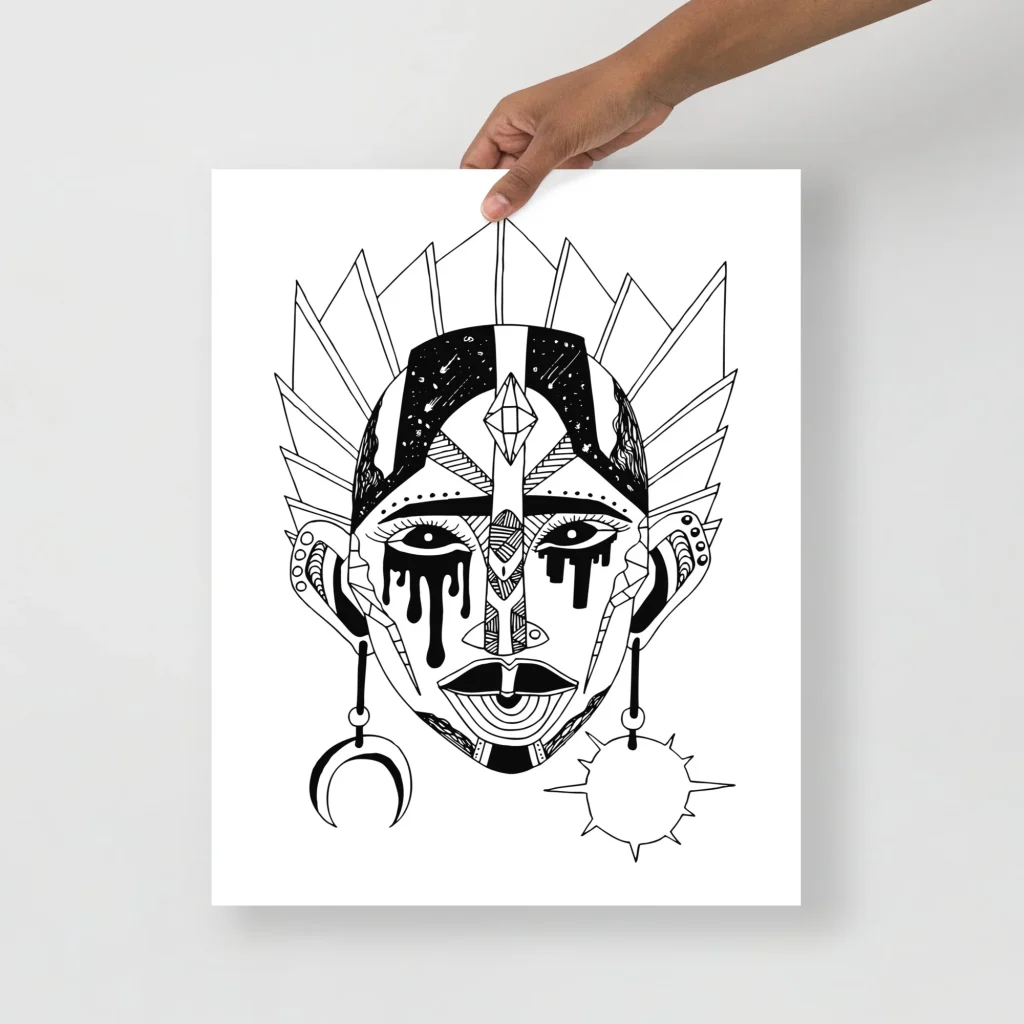
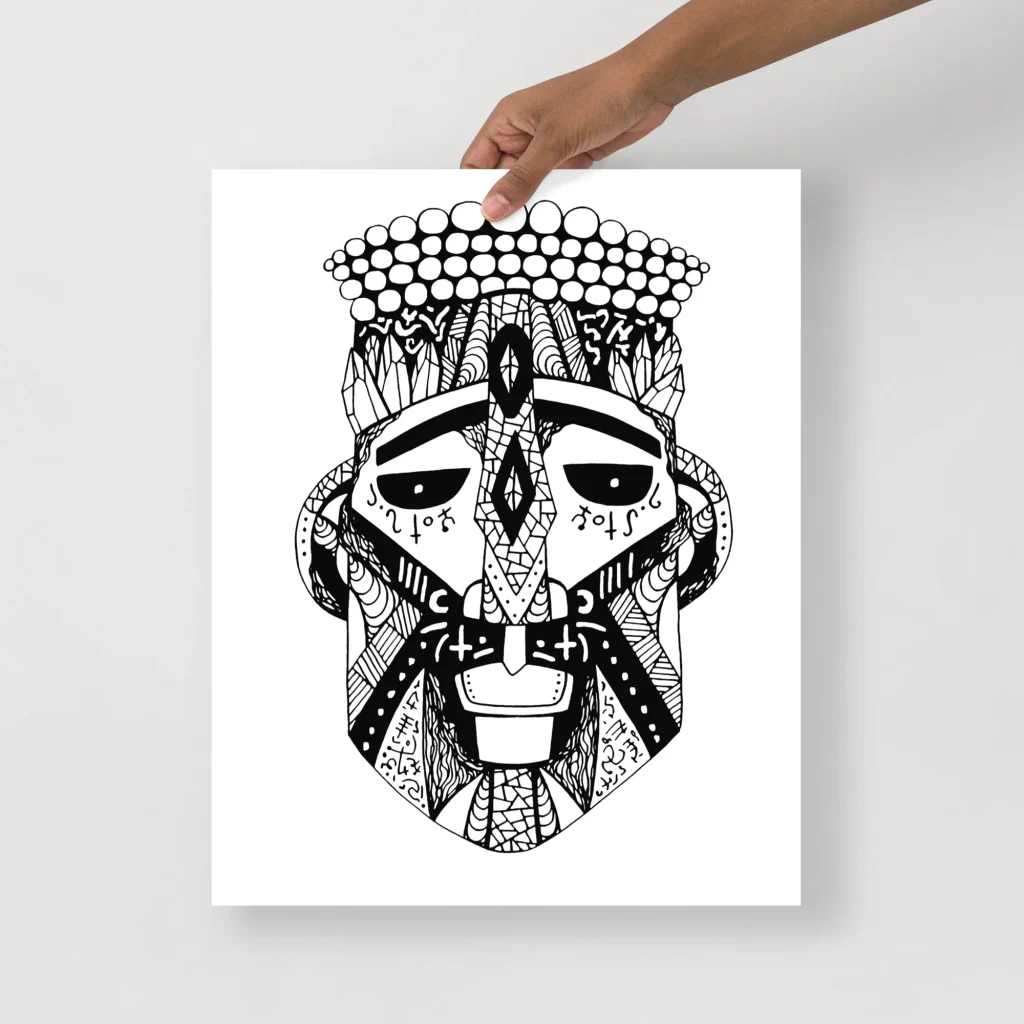
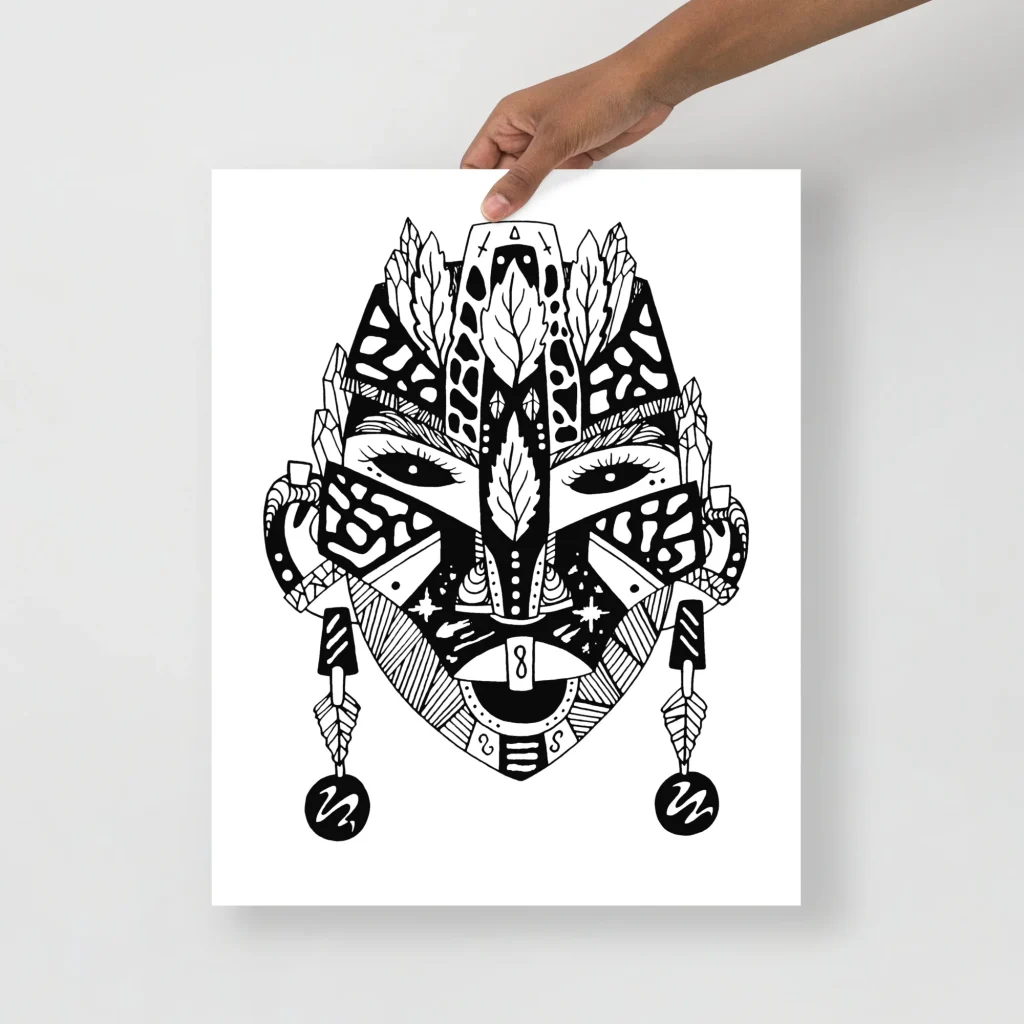


And if you’d like to see more of my finished ink work, you can explore my art prints and merch in the shop.